Frickin Lasers
My friend Steve and I come up with a new business idea pretty much every time we start talking about all the amazing technology in the world today.
I'm an ASIC designer and all around hacker who loves to build everything. Steve is an IT professional with more amazing completed side projects than any person I've ever known. Between the two of us it always feels like there is no limit to what we can do. I think most people would agree that ideas are easy but execution is very hard. Most of our ideas don't have enough momentum to make us jump into execution mode, but some do.
One of those ideas was to purchase a laser engraving machine and start cutting things for personal projects and for-profit projects. The number of potential projects that came to mind was enormous. There are so many things that can be made with a laser cutter. Steve had spare investment money and I had the space in my garage so we decided to go for it.
Choosing a Machine
There are a great number of companies out there that make laser cutting/engraving machines. Our short list of potential machine manufacturers came down to:
Epilog and Full Spectrum are USA based companies that seem to have very well-made products. They are, of course, much more expensive because you do have to pay for good quality. MornTech lasers are Chinese designed and built systems, which usually means to expect a "kit" that will require some effort to get working. At up to 1/4 of the cost of a similarly equipped US made machine, the MornTech systems are an attractive option.
Given the fact that Steve and are both hackers and willing to put in effort to create a working solution, we opted for the MornTech MTL-570 Laser Engraving Machine which is a 60 watt machine with a 20"x28" cutting table. The cost was a touch under $6000 and included a bunch of extra items that would normally need to be purchased separately.
Machine Arrival
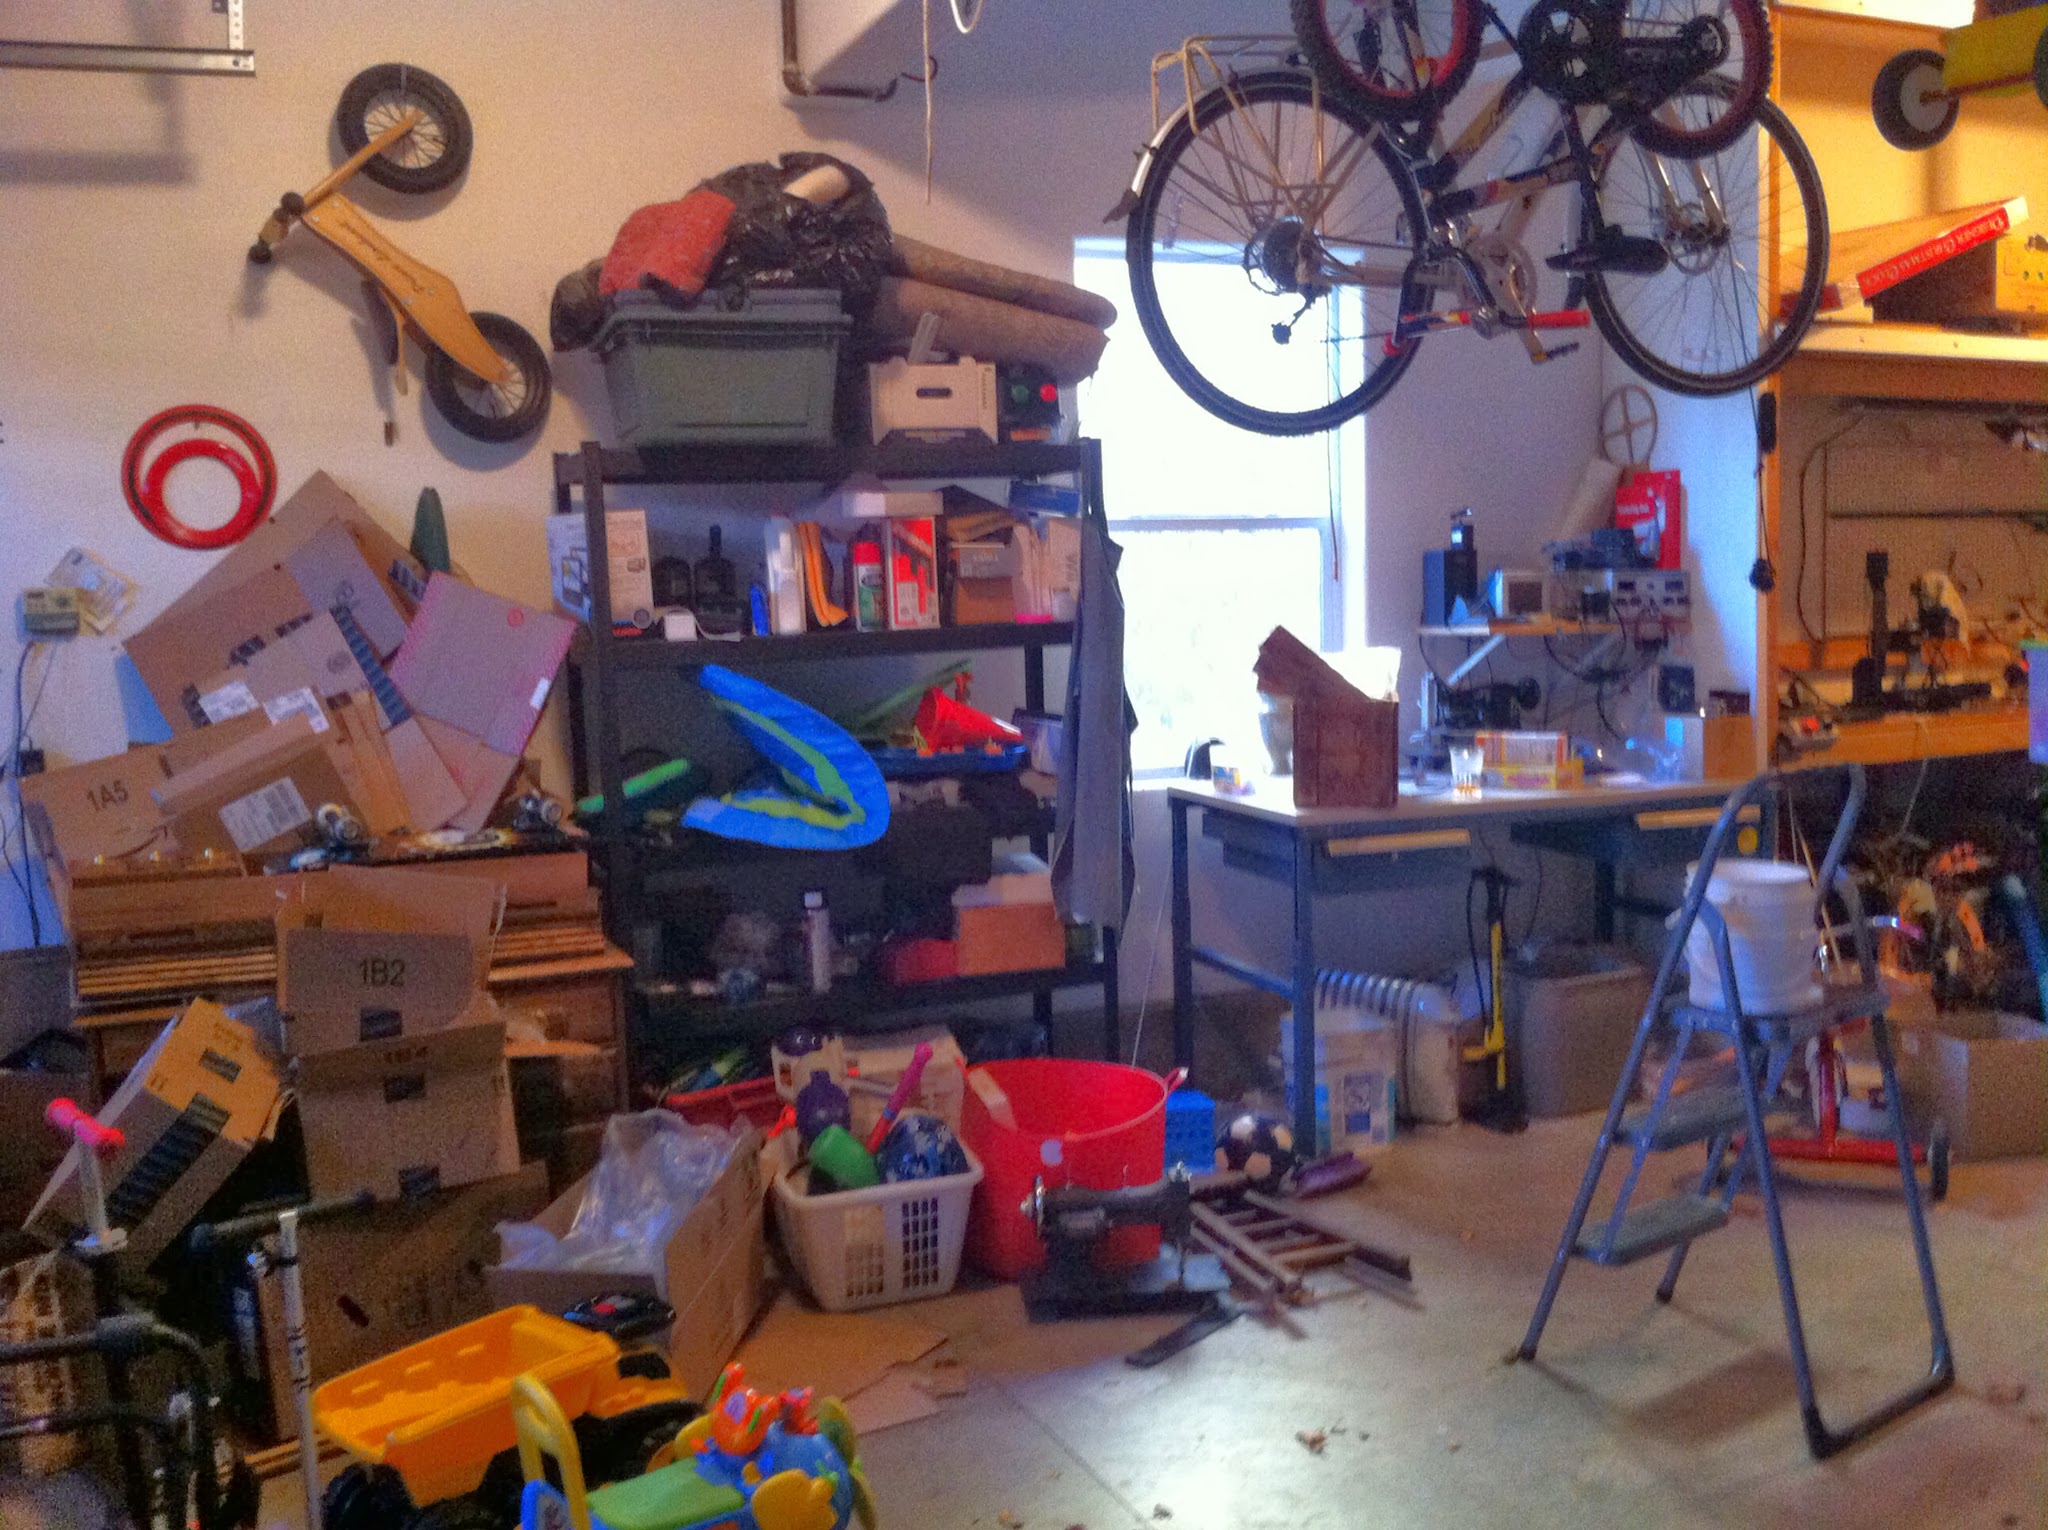
First things first. Make room in the garage. This is the side of the garage where I intended the laser to go since there is a conveniently placed window for ventilation. What a mess! My CNC Sherline Mill is visible in the far right of the picture. Fantastic little machine!
The machine was supposed to arrive on a Thursday, but after some major communication issues between us and the freight companies involved in the delivery process, the machine arrived on the following Tuesday. A large UPS truck carrying a single crate pulled up at the house. For some reason UPS wasn't the only delivery company involved in the process. The package changed hands at least once and sat in a warehouse in Portland for quite a few days before actually being delivered. The ability to track it was nonexistent until it was in the possession of UPS.
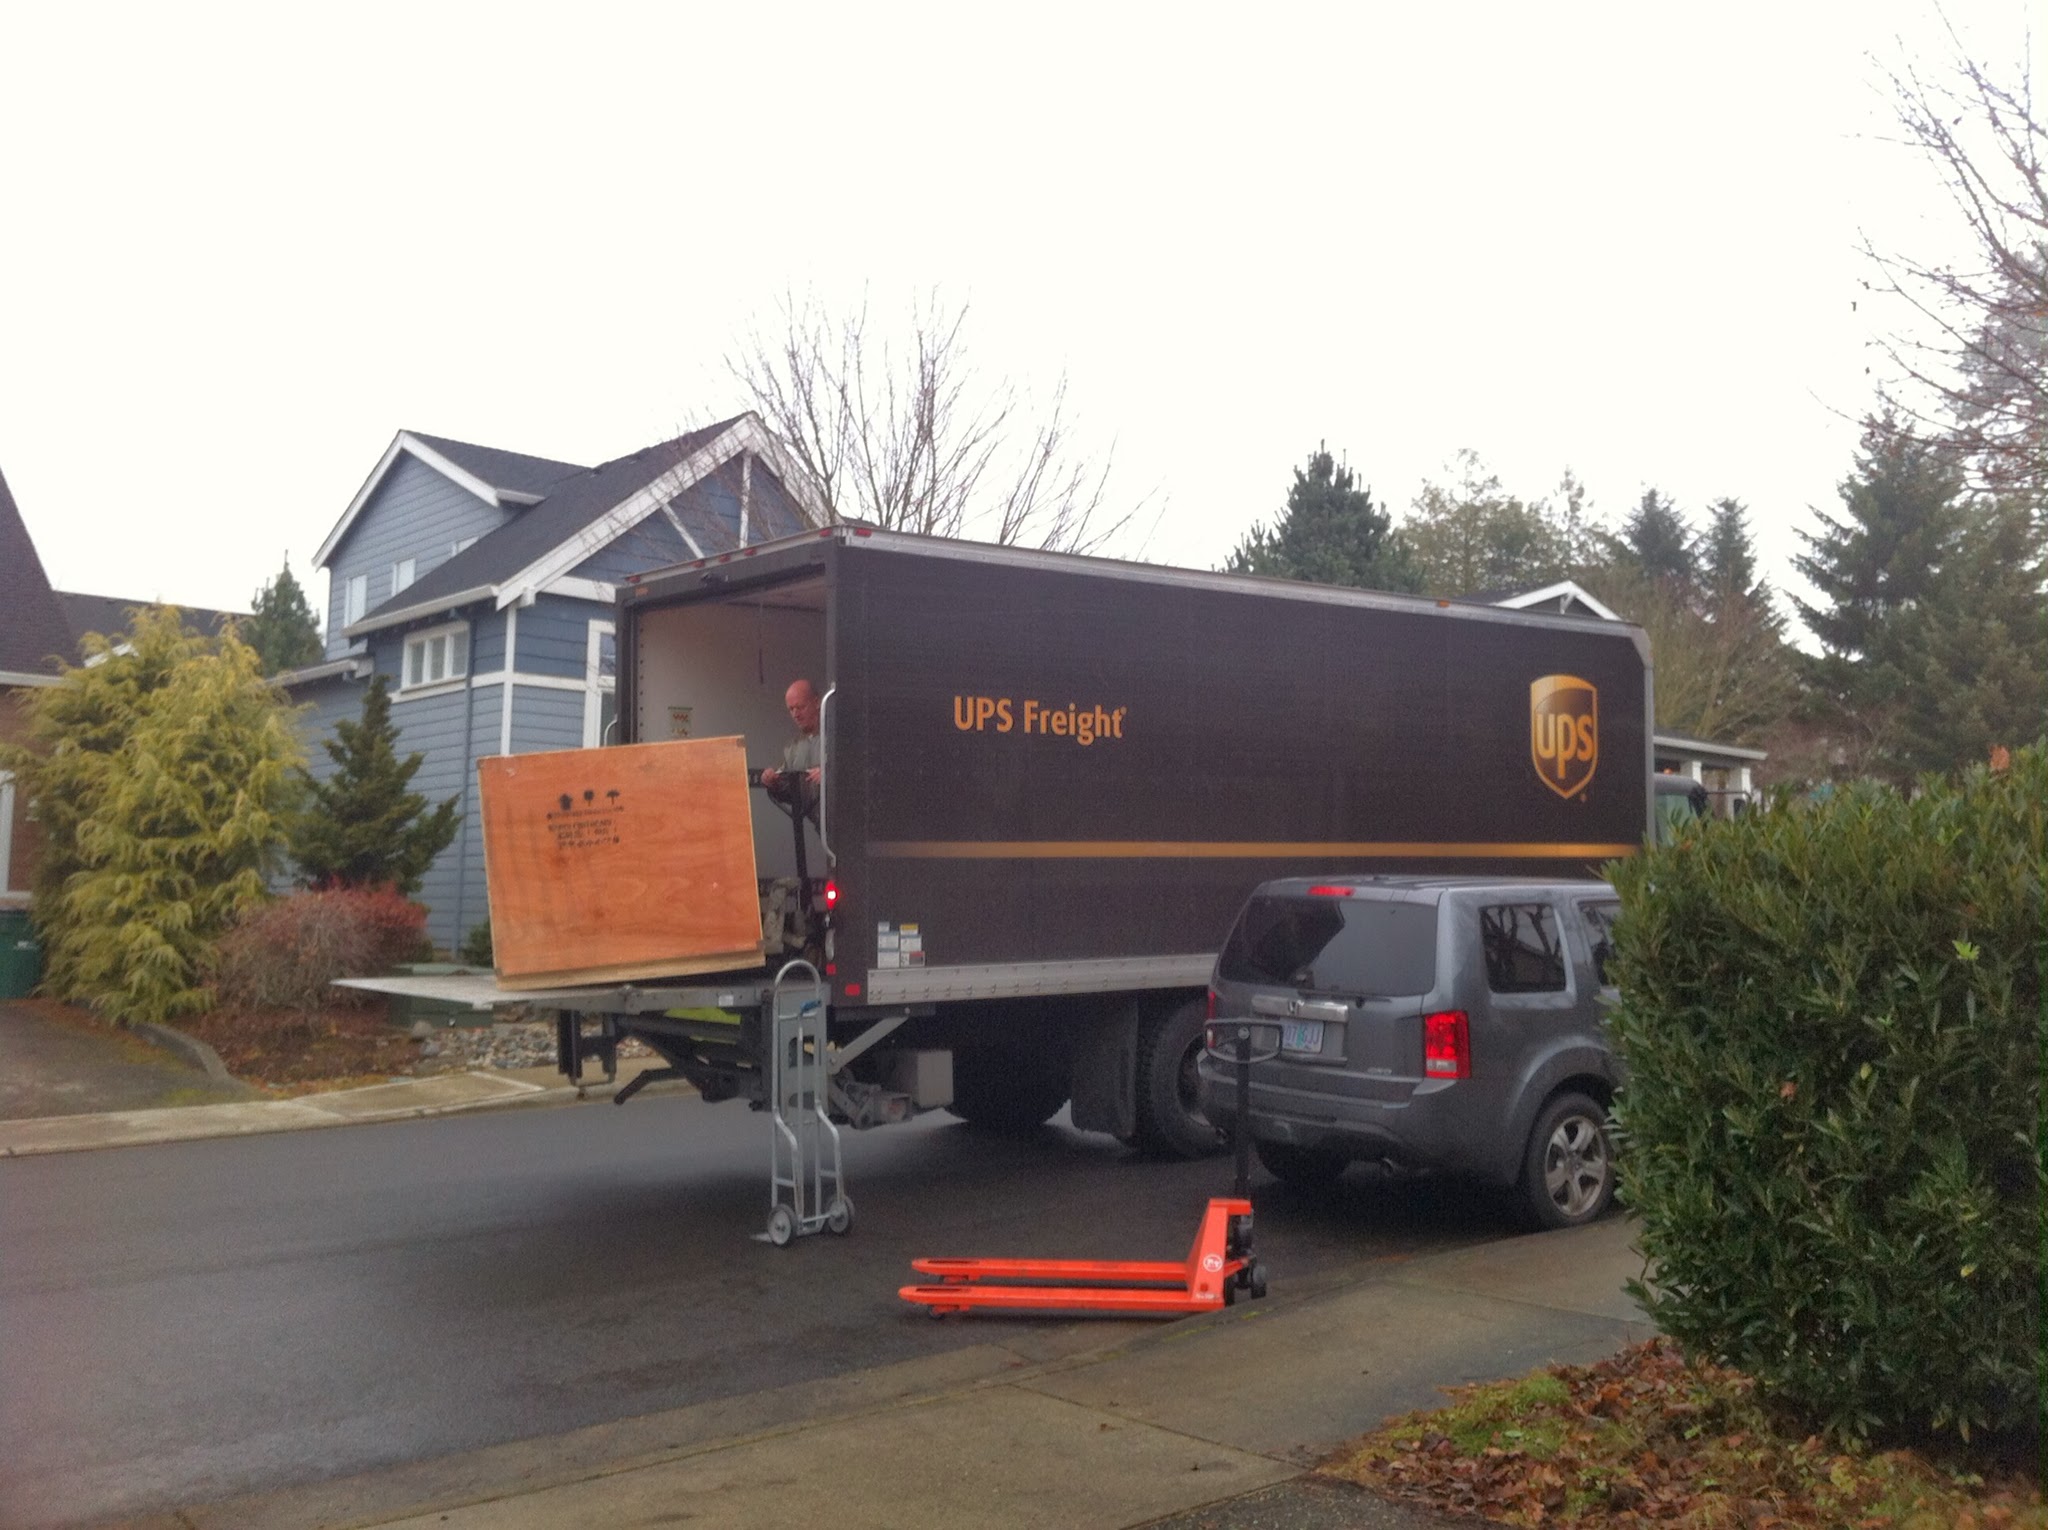
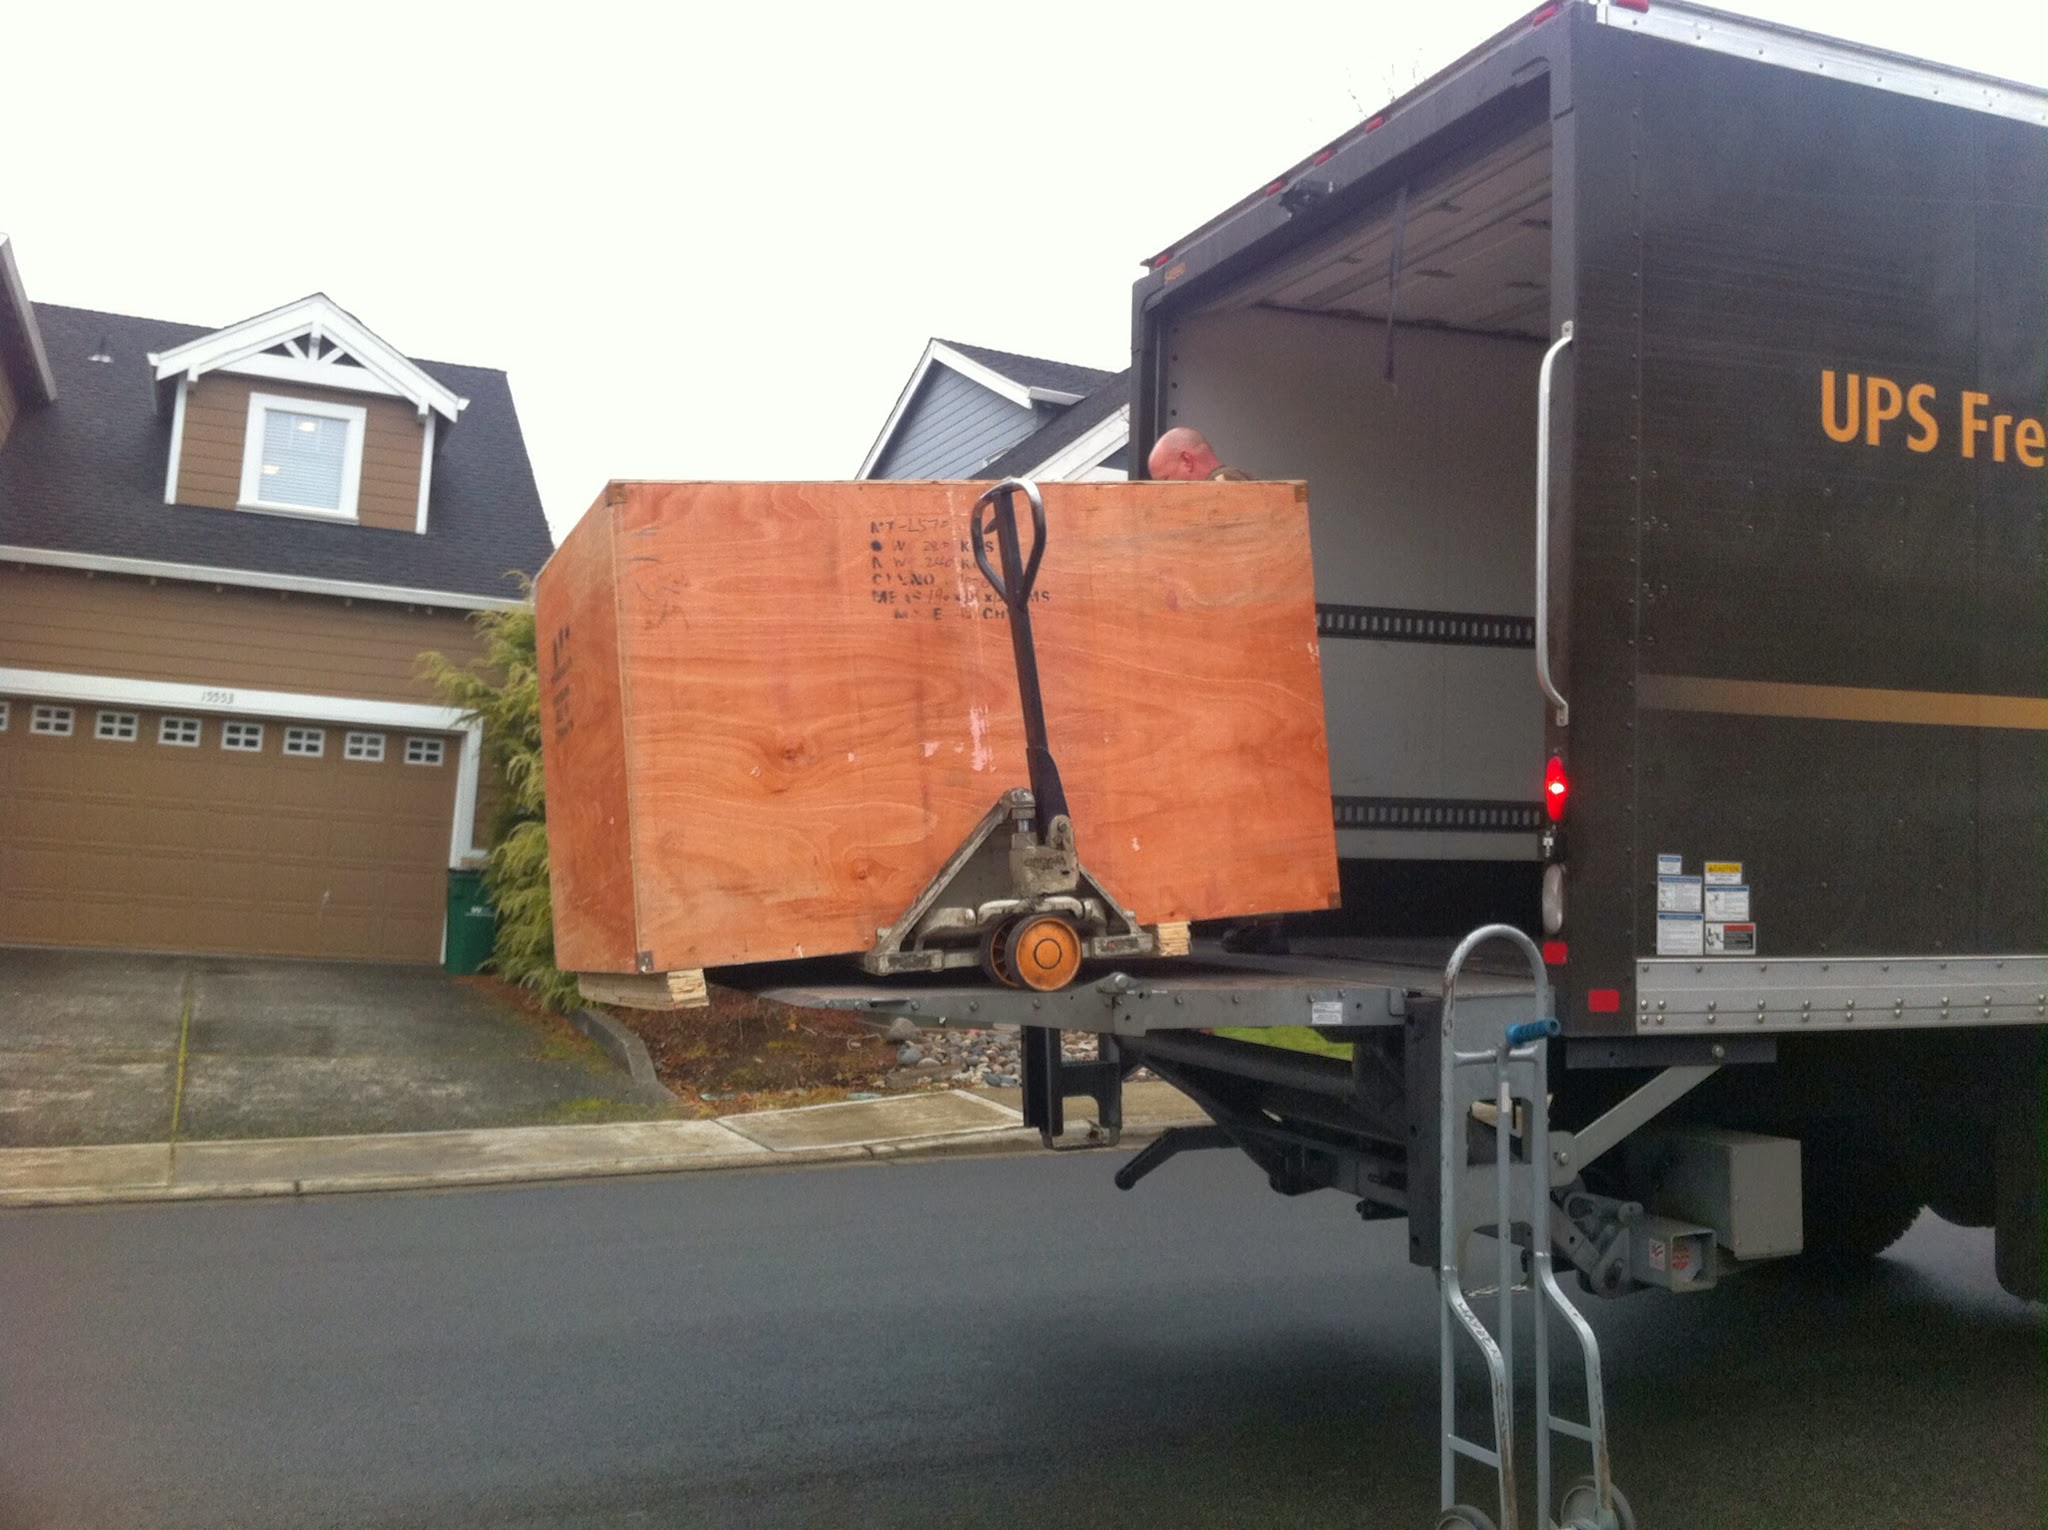
The crate was big enough that the UPS guy had a little trouble getting it on the lift gate. I thought for sure he was going to drop it off the back of the truck. As you can see it was partially hanging off the edge. Eek!
Using two pallet jacks, one pushing one pulling, we managed to get it into the garage. For some reason the UPS guy didn't want the second pallet jack and asked if I wanted to keep it. Absolutely! So now I have a pallet jack to go with my large pallet. I imagine I'll be able to sell it when I'm done. =)
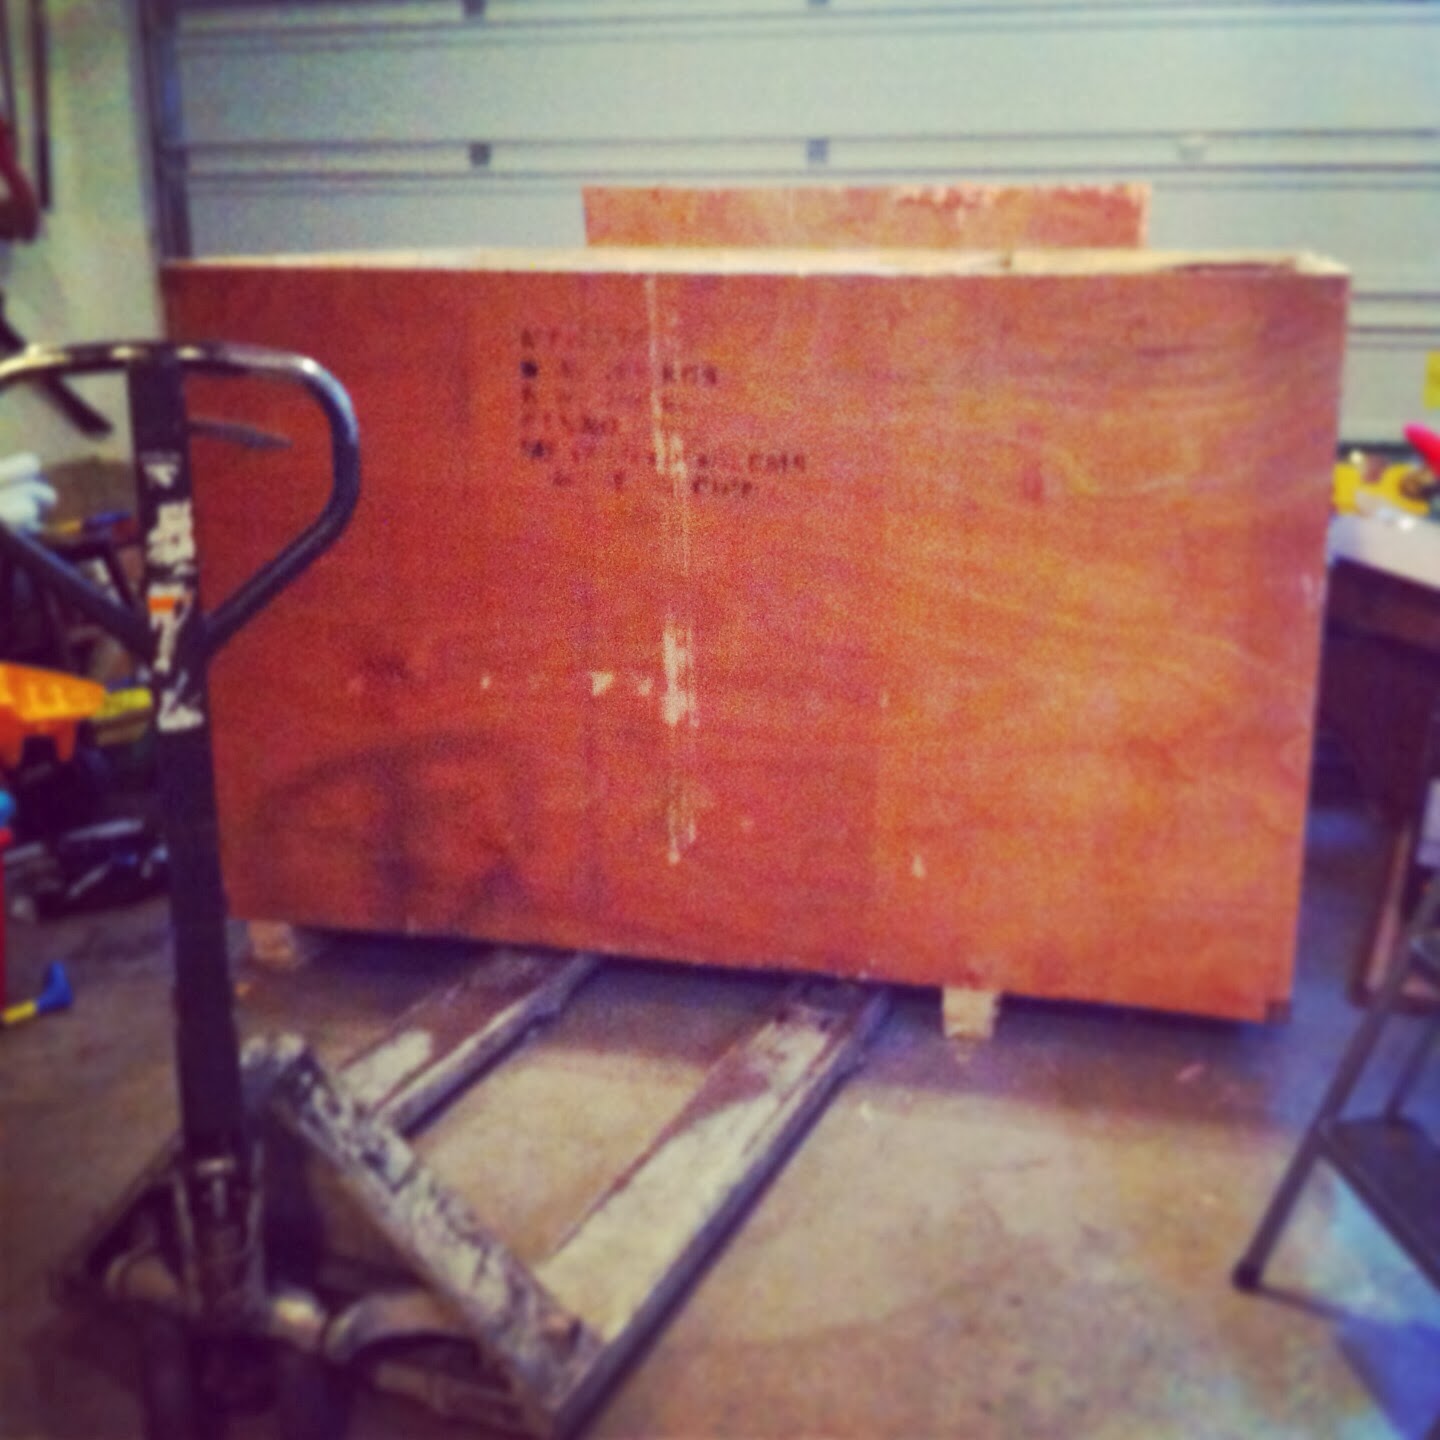
The instruction manual mentioned removing screws to get the crate apart, but I didn't see any screws, so I got out a hammer and pry bar and started pulling the thing apart. A day or so later when Steve came over he noticed that there were some long screws at the very bottom which seemed to hold the entire top of the box to the pallet. By that time I had it mostly torn apart. I must have been too anxious and didn't look closely enough.
Tip: Unscrew the large screws at the bottom part of the crate and lift the box apart.
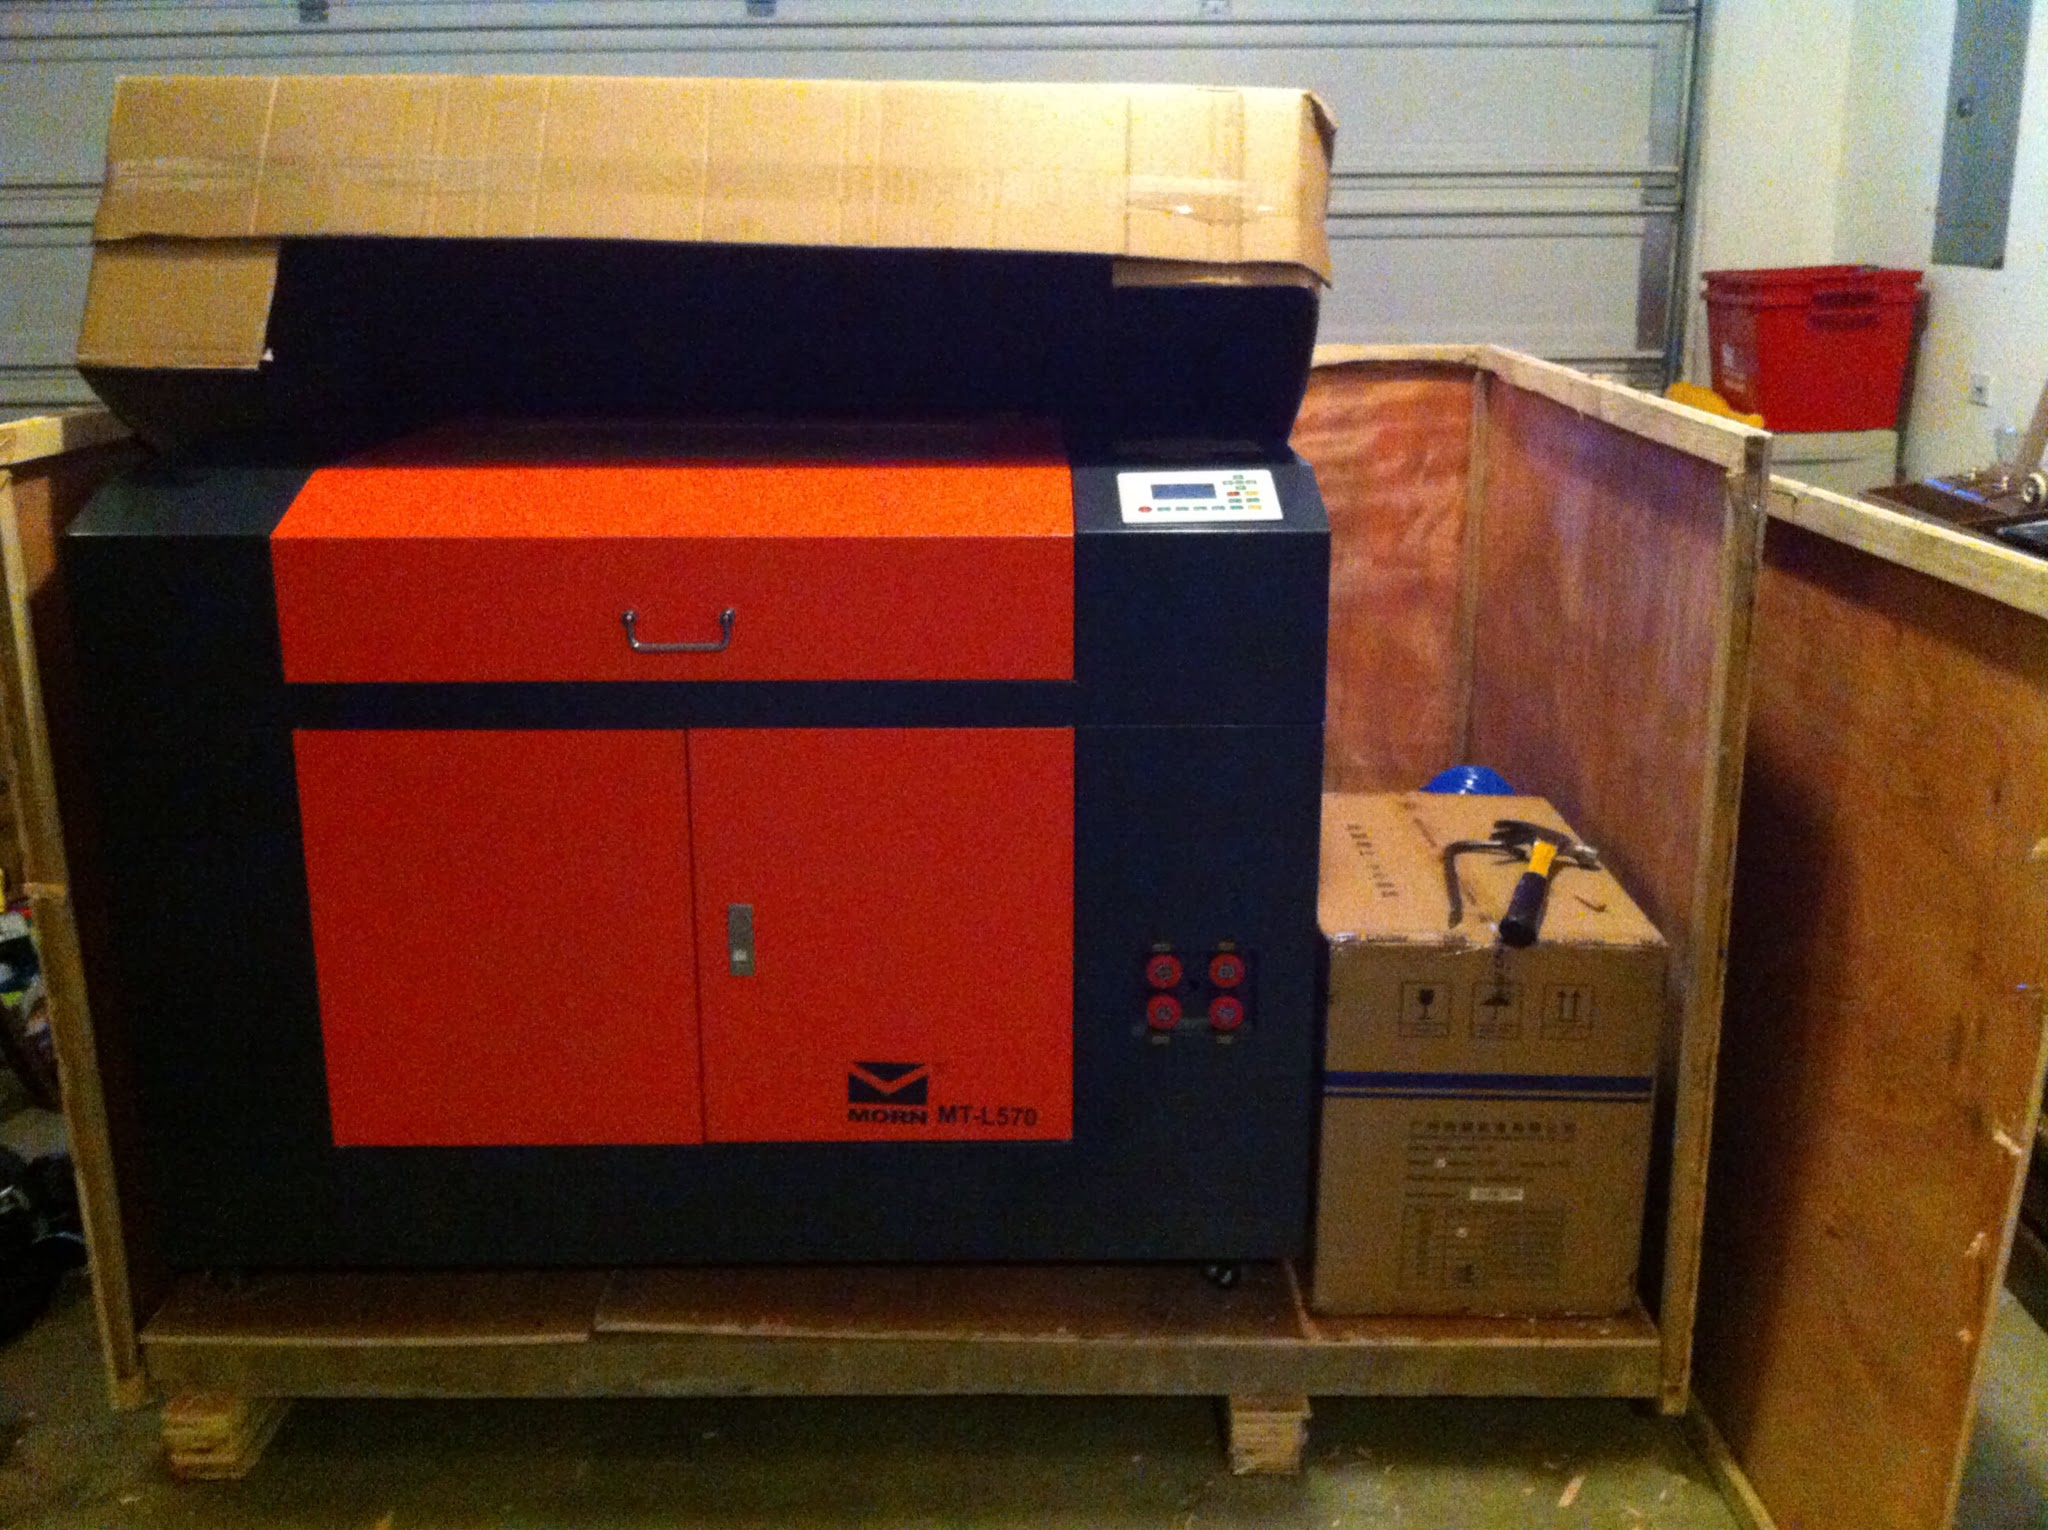
All of the accessories were in boxes surrounding the machine, and the feet of the machine itself were screwed into the base of the pallet. The cardboard box seen in the picture above contains the water chiller. A myriad of hoses and tubes were laying in the corner of the crate. One of the 6" blue vent tubes is peeking over the chiller box. Things looked to be in decent shape with no noticeable damage.
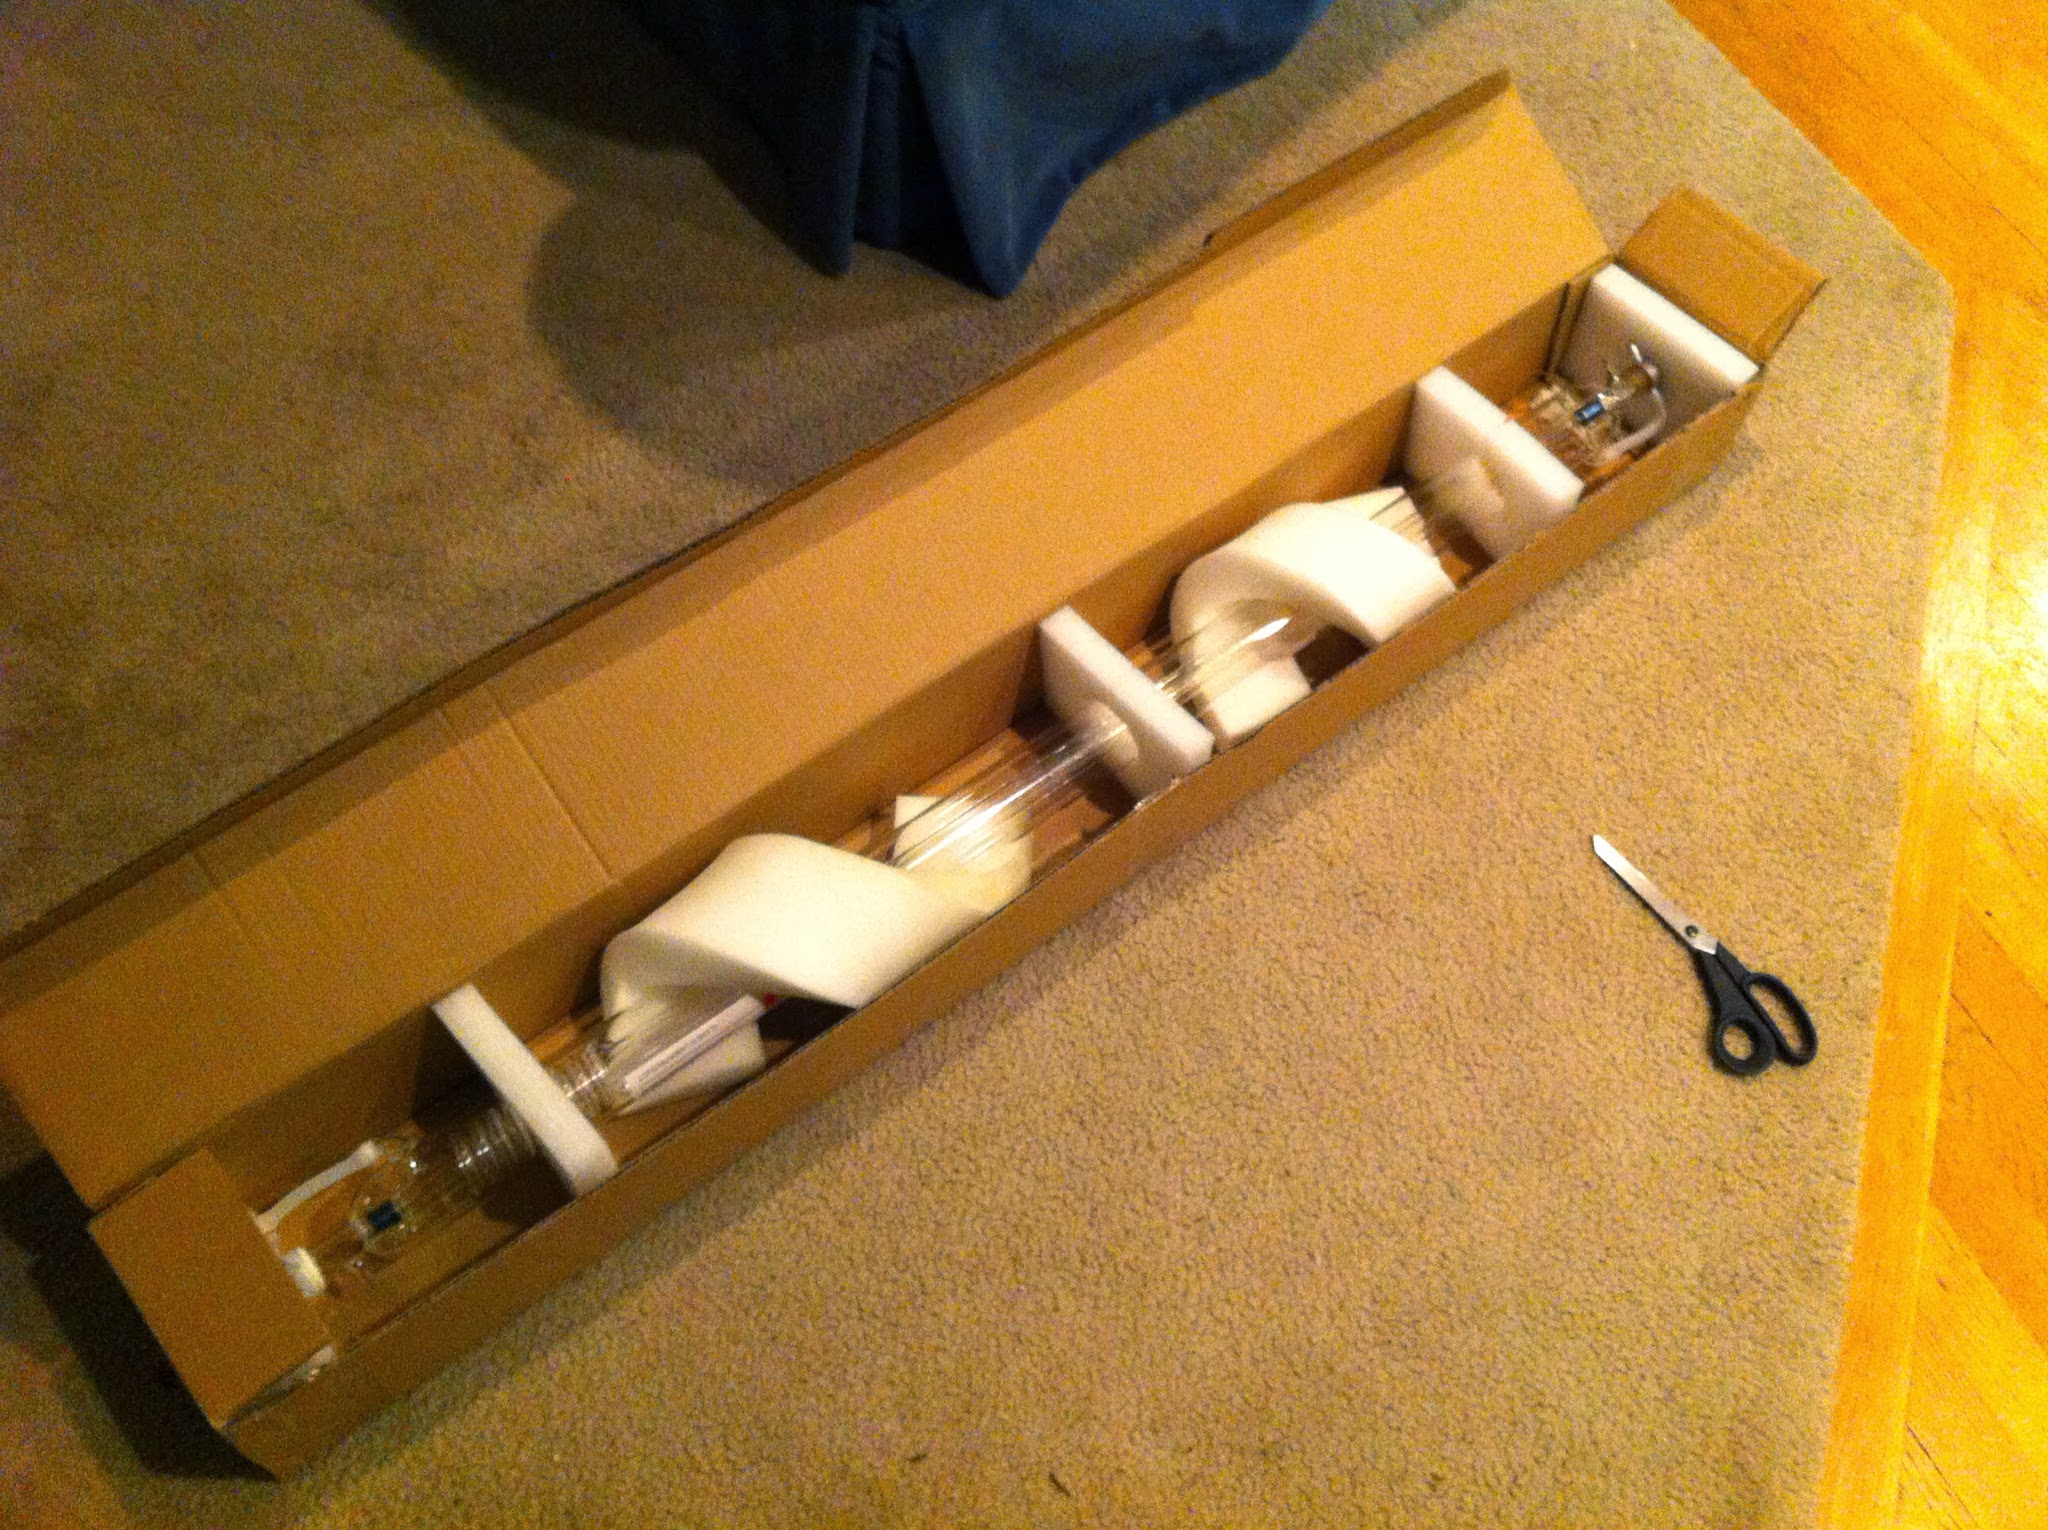
The item I was most concerned would be damaged on the long boat ride from China was the laser tube itself. Luckily it survived.
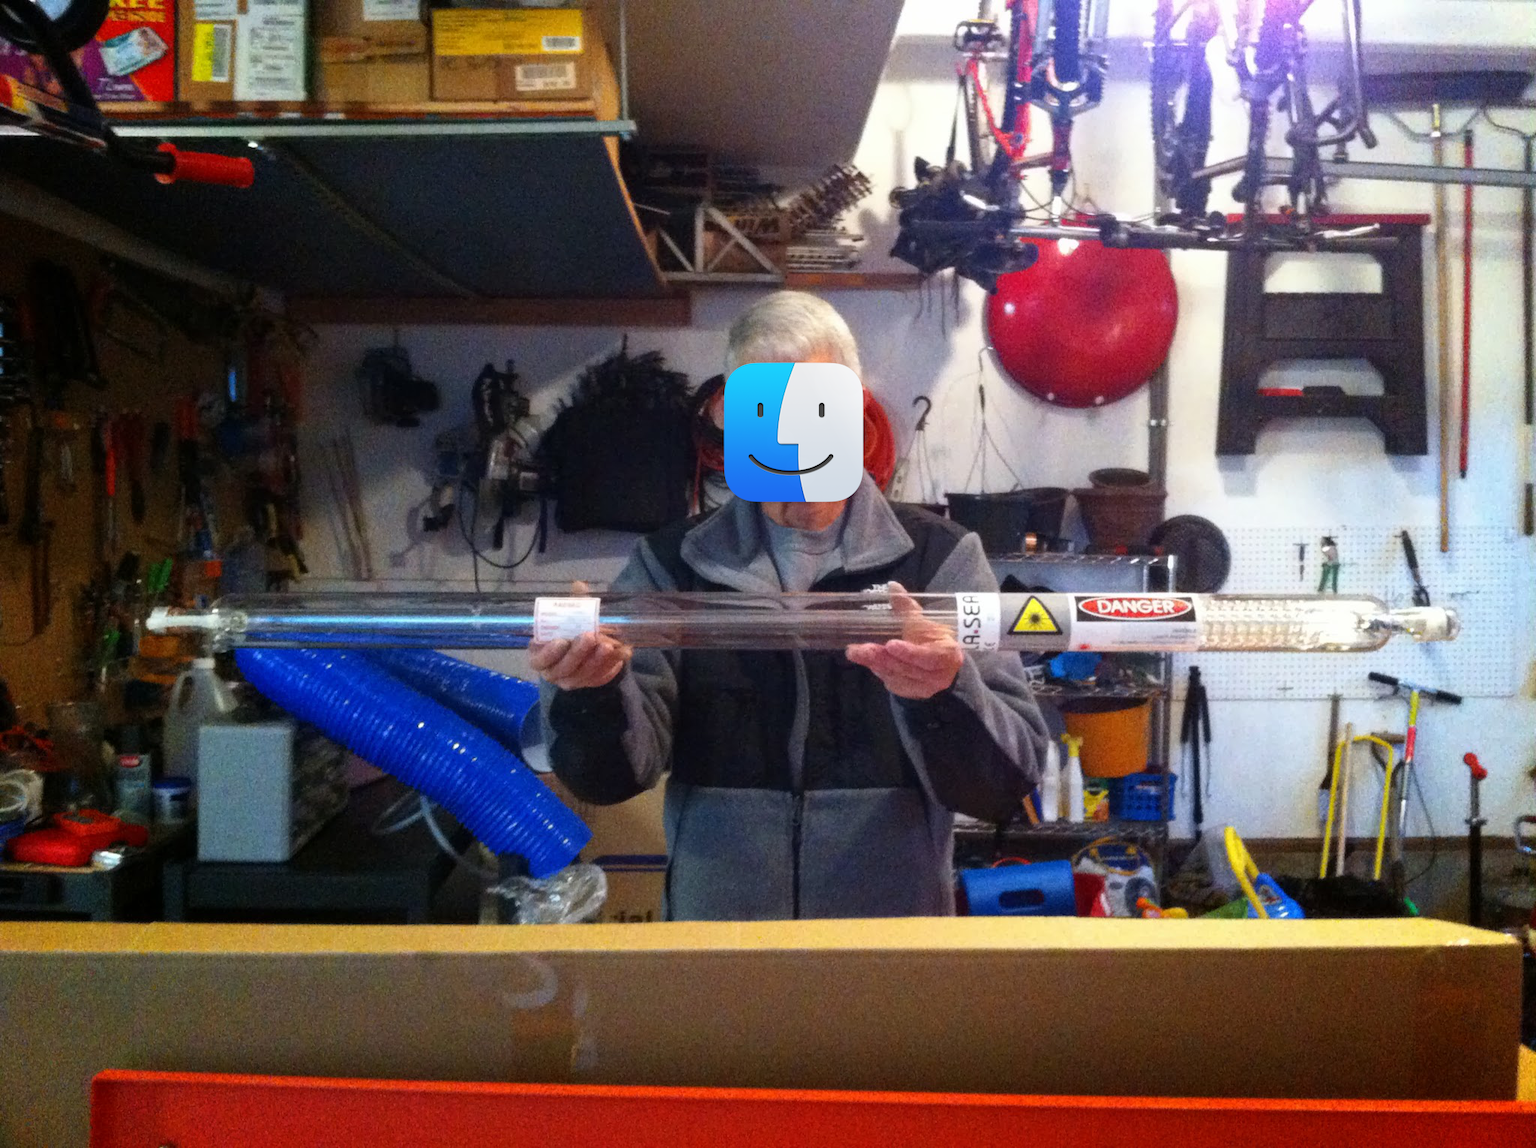
Here's a shot of Steve holding the laser tube for scale. Pretty frickn' big laser! It's a pretty intricate piece of workmanship. I have to believe that a robot manufactured it, given that it has two semi-isolated chambers inside the main tube. The outer inner tube carries water, which helps remove heat created by firing a hot laser. The innermost tube must contain the gas that creates the laser beam. Very cool piece of technology. The machine provides 30,000V to the tube to actually create the laser beam.
Next up is assembly!